How is draping used?
In this article, we will tell you how to use draping, a new makeup technique to always look beautiful. Don't miss out.
health and beauty
Share
Draping has gone viral on social media platforms such as TikTok and has countless fans around the world. But what exactly is draping? It's a makeup technique that is used to sculpt the face and mark facial angles with the help of a blusher. Also known as blush draping, you can achieve an attractive effect in just a few seconds, making the skin look soft and bright.
Draping comes from the famous contouring, which also consists of shaping the face, but in this case, it's the rouge that helps create an attractive colour gradient on the cheek and cheekbone. The lifting effect also suits all face types, although you can apply it in different ways depending on what you want to achieve.
For draping, you need (of course) a blusher, which can be liquid, stick or powder. Keep in mind that the powdered blushers provide a softer touch, while the stick has a fuller and more natural finish.
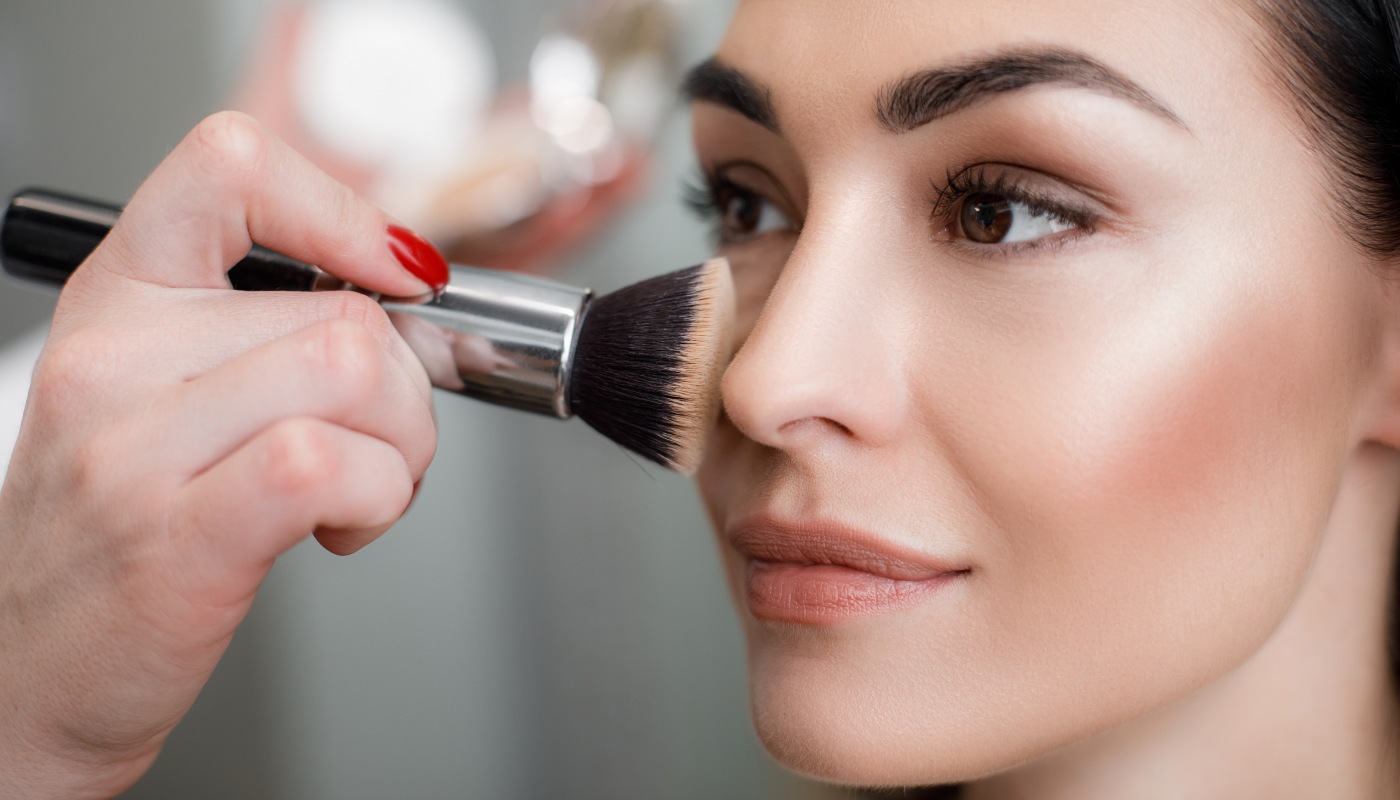
It's also worth mentioning that draping is usually done with two shades of rouge in the same colour range. The darker shade is placed in the cheek area, where we would apply the contour, while the lighter one is placed from the centre of the cheek towards the cheekbone, in an area higher than where we have applied the previous colour. This creates a very flattering gradient.
The technique of draping in makeup is not exactly new because it was already used in the 70s, but there is no doubt that it has resurfaced again today.
How to apply the draping makeup technique?
When you do your makeup, you should do the draping after you have applied the foundation and before moving on to painting your eyes or lips. Follow the steps below carefully:
- Moisturise your face and apply foundation.
- Choose blushers and a medium/large brush.
- Apply the darker blush creating an apple shape around or just below the cheekbone.
- Use the light tone around the silhouette you have drawn with the other blusher, that is, at the top of the cheeks.
- Blend for a more natural and luminous effect.
- If you are looking for a more exaggerated look, add some touches of blush on the eyelids.
As for the tone of the blush, it depends on your skin tone and the effect you are looking for. Whiter skin looks better with pink tones, while more tanned skin looks better with earthy or reddish colours. Moreover, pink tones generally serve to lift and enhance the features; oranges, terracotta and browns, on the other hand, provide a greater sense of volume. A trick you can use is to combine the blush with the lipstick to give an even more elegant and sophisticated touch to the makeup.


