Halloween cake: a frightening recipe
Make a terrifying and fun Halloween cake with our simple recipe. Surprise your children and guests with this delicious dessert.
on today's menu
Share
It’s not long until Halloween, also known as “witches’ night”, a date that simply must include ghosts, vampires and spiders’ webs. The celebration, famous worldwide thanks its popularity in the United States (there it is celebrated in style; as can be seen by the decorations on the façades of many houses), has also gained fans in recent years in all four corners of the globe. This, of course, includes Spain.
The origins of this celebration, according to historians, dates back to a Celt ritual called Samhain. It is centuries old and took place (and still does) on October 31st, although it did initially used to last for three days. This date used to mark the end of summer and announce the arrival of the shorter, colder days that are so characteristic of autumn. Straw-burning bonfires were common (people believed this repelled witchcraft and disease) and children went from house to house praying for the souls of the dead. In exchange, they received sweets.
Perhaps that’s why it's logical to think about making a Halloween cake to celebrate this popular event. Bearing in mind that desserts are used to round off any celebration, a Halloween cake positions itself as a culinary success for this festivity.
Of course, you can go to a patisserie that has prepared a specific delicacy for Halloween, but it’s not a bad idea to make something yourself at home. There are lots of different types of easy Halloween cakes that we can make: Let’s take a look at them!
How to make a Halloween cake
Firstly, let’s start with the easy part, the decorations we can put on top of cakes or sponges that we already know how to make. To make original Halloween cakes, we don’t need to spend a lot of time or effort. That’s a promise!
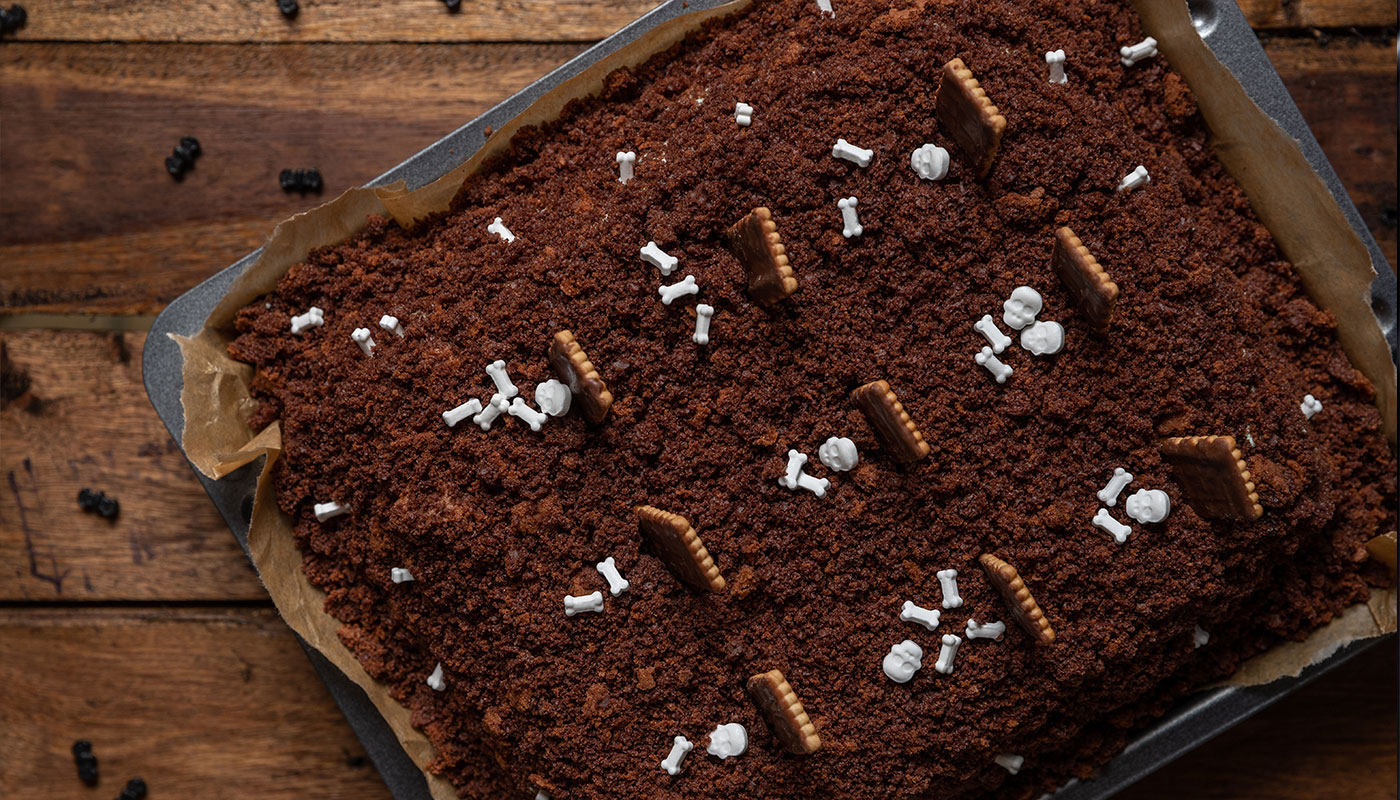
Let’s start with a “cemetery cake”. On a classic cake or chocolate sponge, rectangular if possible, create a terrifying scene. To do so, grind some cereals on top to represent the fictitious ground of the cemetery. Use some flat rectangular biscuits and a piping bag to write the world “RIP” on with chocolate. Next, place them on top of the cake or sponge so they look like gravestones. It’s a simple way of adding a unique touch to the classic chocolate cake.
This, by the way, can help us with other ideas. On the same chocolate sponge, you can play with scary film references. For example, with a cream cheese base, we can paint the face of Jack Skellington, the legendary character from The Nightmare before Christmas, and then place it on our favourite chocolate sponge.
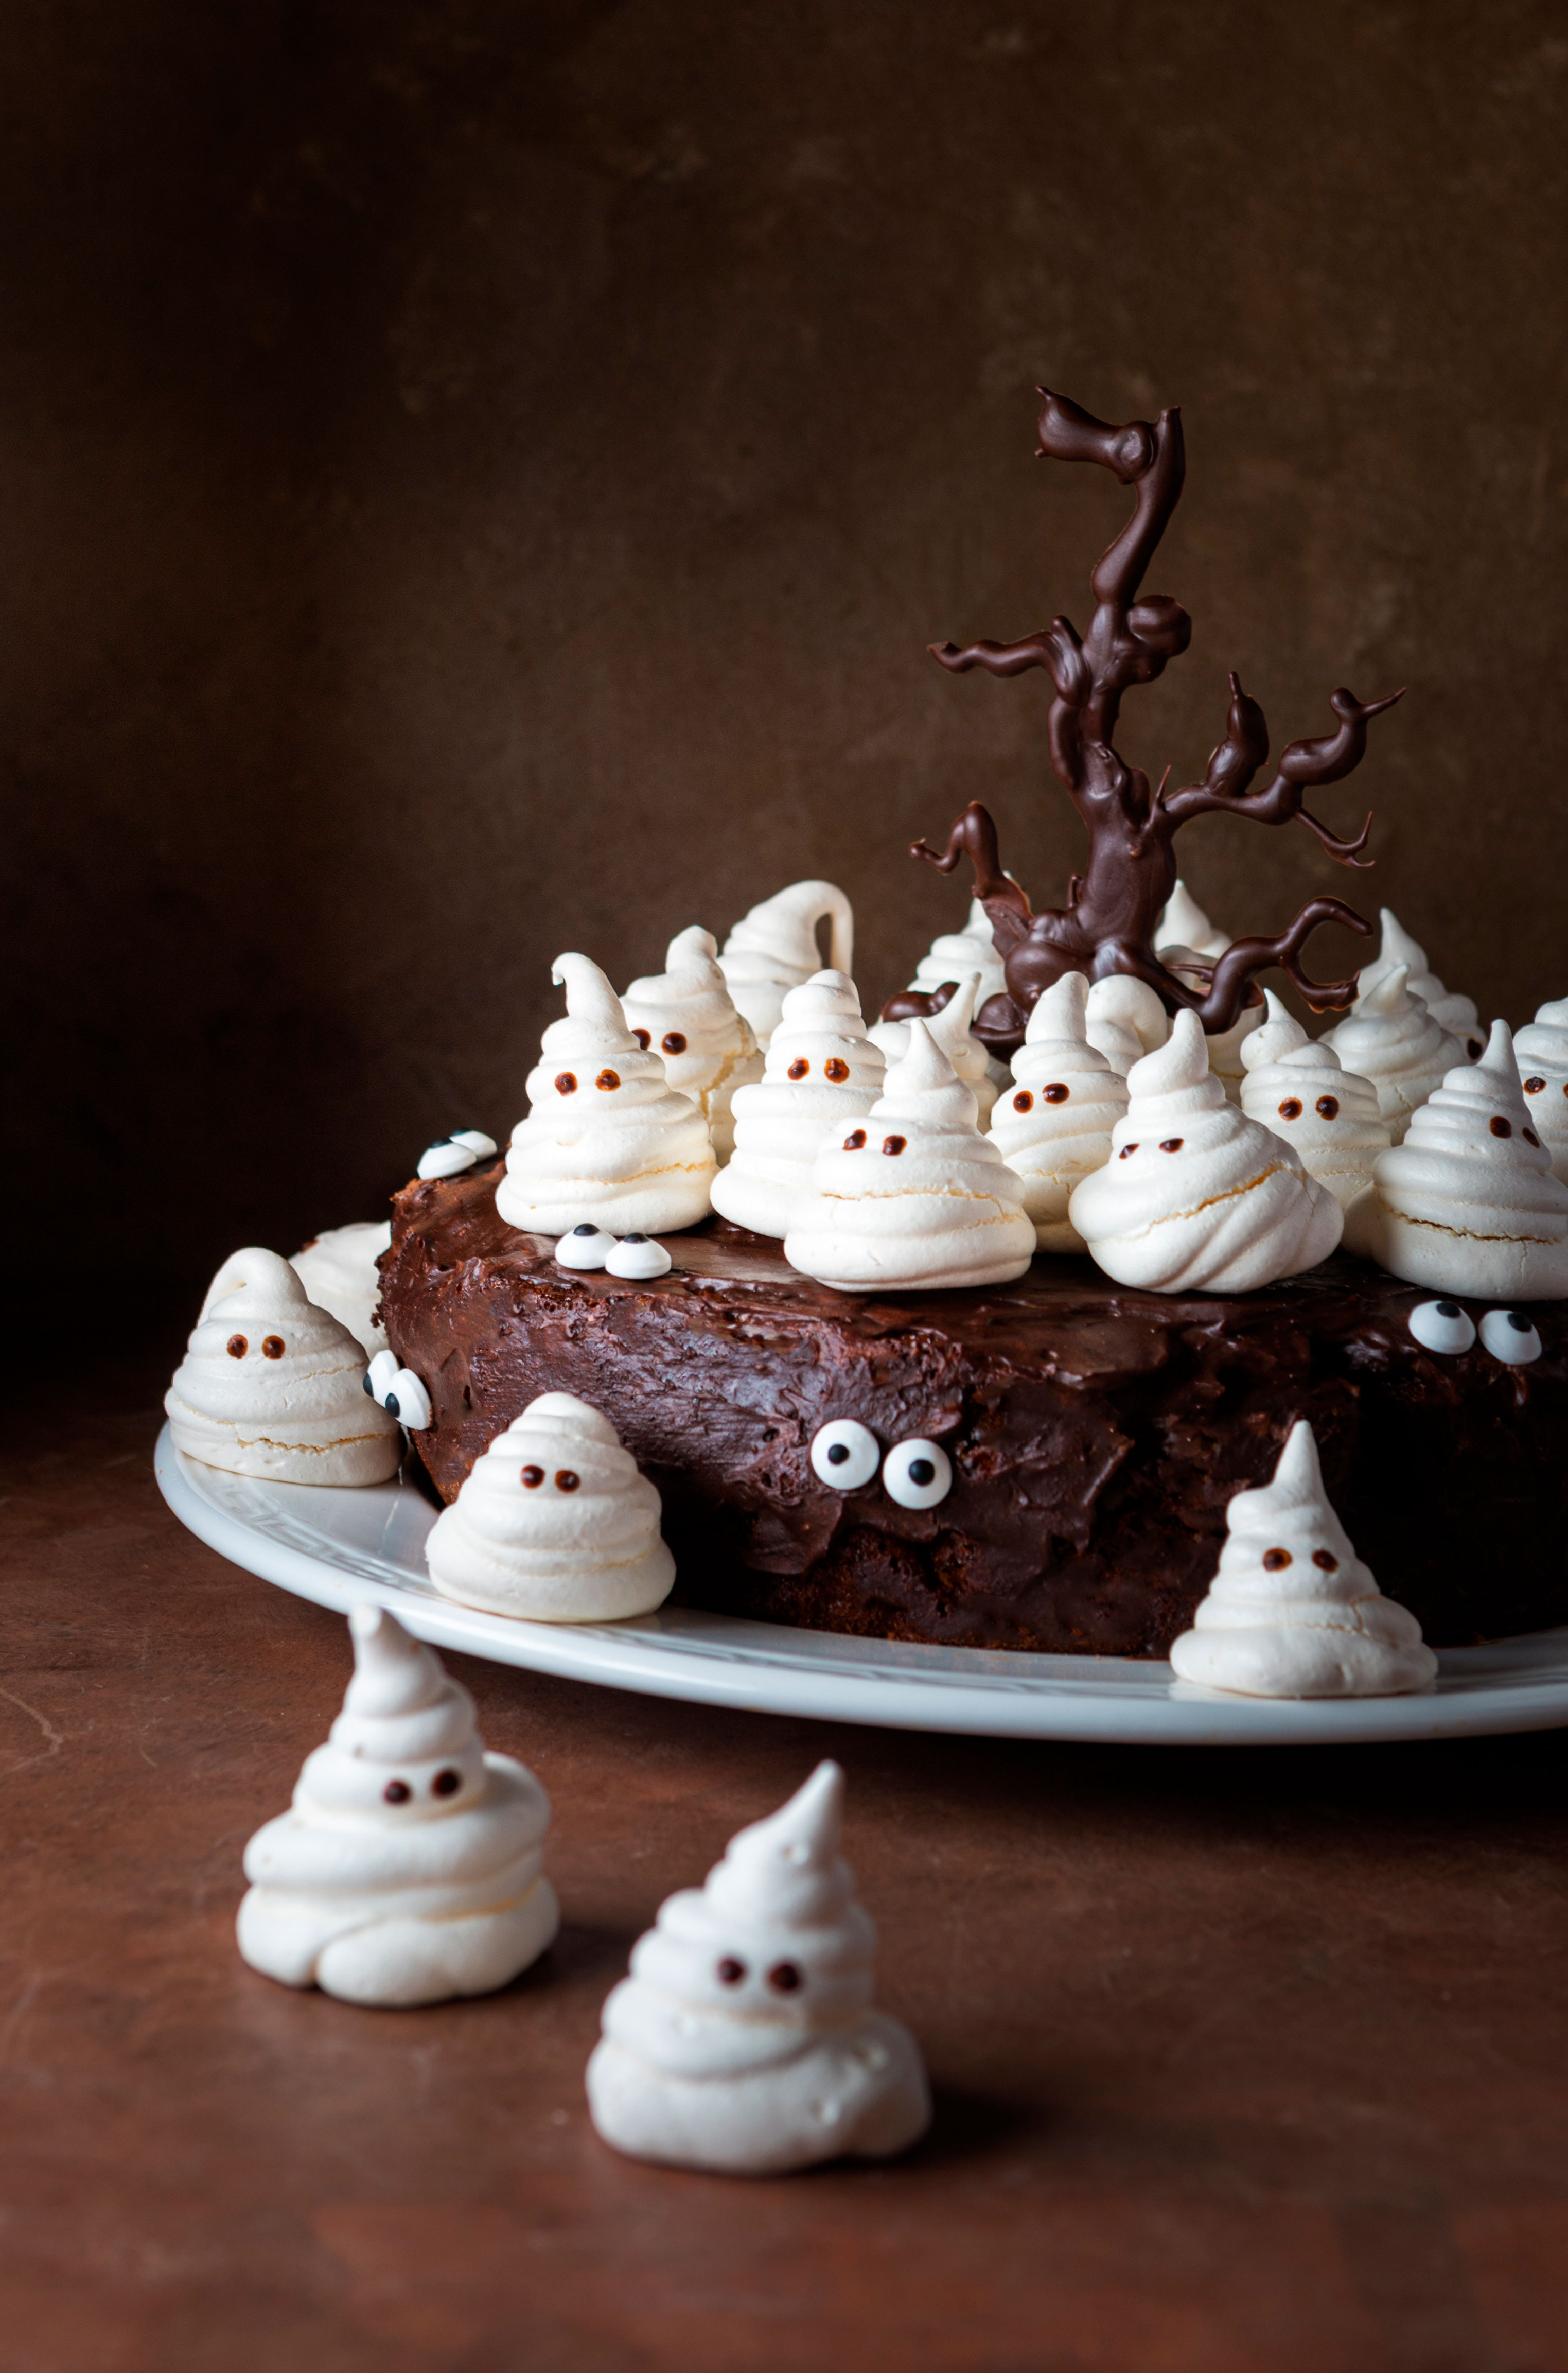
Incorporating ghosts made from meringue on the top of a cake can be a really fun and entertaining option. To do so, first we will need to preheat the oven to 80 degrees without the fan. Next, we will whisk egg whites in a bowl with a pinch of salt and, when they form peaks, we will add sieved icing sugar and continue whisking. Then we will place the meringue in a piping bag and place it on an oven tray, forming mounds. We will switch the oven off and place them in the oven for 90 minutes, until they cool completely. Finally, we will just need to place them on top of our cake and, if we want to, add sugar eyes or any other scary element to our delicious ghosts.
The classic pumpkin Halloween cake
Pumpkin is one of the items most associated with Halloween. Perhaps that’s why making a pumpkin Halloween cake on this date also makes a lot of sense. To do so, we will need the following ingredients:
- 300 g pumpkin (grated)
- 120 ml whole milk
- 2 large eggs
- 120 ml olive oil
- 200 g sugar
- 100 g pecan nuts
- 1 tablespoon lemon juice
- 120 g baking flour
- 120 g wholemeal flour
- ½ tablespoon baking powder (Royal)
- ½ tablespoon ground cinnamon
- 1 teaspoon salt
- ½ teaspoon baking soda
- ½ teaspoon ground clove
- ½ teaspoon ground black pepper
- ½ teaspoon grated nutmeg
- ½ teaspoon vanilla extract
In addition, for the topping of our pumpkin cake, we will need:
- 300 g cream cheese
- 50 g sugar
- Zest of ½ lemon and dash of juice
In terms of the method, let's see what we need to do:
1. We will mix the milk with the tablespoon of lemon juice, which will give us homemade buttermilk. Leave to rest for 15 minutes until the milk turns sour.
2. Heat the oven to 180 degrees with heat above and below. Then we will prepare the circular cake tins (ideally they should be between 18 and 20 cm in diameter) with baking paper on the base and grease the edges with oil. We will do that because we will place some of the topping in the middle, so it is easier than baking it in one cake tin.
3. In a bowl, we will mix the pumpkin with the buttermilk, and in another bowl we will sieve the flour (white and wholemeal) and mix with the baking soda, baking powder, salt and spices. In a third bowl, we will whisk the eggs with the sugar using a stick blender and also add the vanilla essence.
4. When this mixture is spongy and has turned white, we will gradually add the oil while we continue to whisk. At this point, we will add a third of the flour with spices and mix using a spatula and gentle folding movements.
5. When the flour is fully incorporated, we will add half of the pumpkin with buttermilk and the pecan nuts. Afterwards, we will gradually add the rest of the flour and pumpkin until we obtain a homogeneous mixture without stirring it too much.
6. We will distribute the mix between two cake tins and bake for 30-40 minutes until it is cooked. A good way to check it’s done is to insert a toothpick inside and check it is clean when we remove it. Meanwhile, it will be the perfect time to make the topping. To do so, we will need to whisk the cream cheese, sugar and lemon juice. Next, we will place it in the fridge.
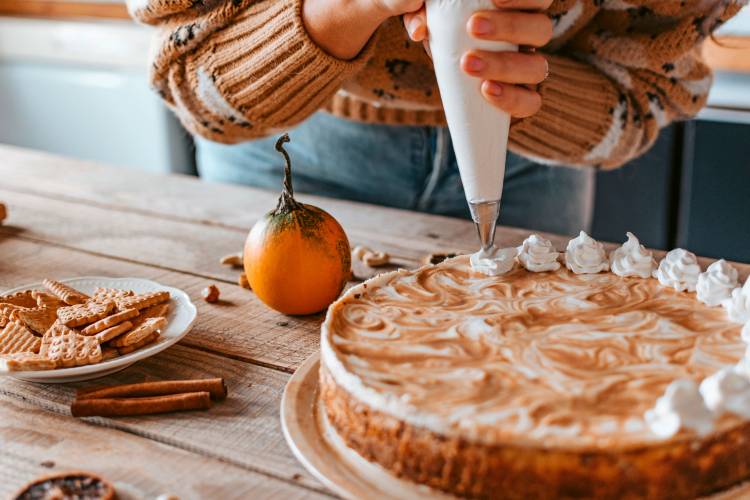
7. Our pumpkin cake is nearly ready. We will remove the cake tins from the oven and leave them to cool. When the sponges are at room temperature, we will cover the flattest one with half of the topping and place the other on top, and cover with the rest of the topping. Finally, we will be able to add sweet elements (which conjure up Halloween) to add a more interesting touch (more pecan nuts, spiders, or skeleton, for example).


