How to make dried tomatoes
Do you want to know how to make dried tomatoes at home? Summer is the best time to make them! You just need to follow these simple steps.
on today's menu
Share

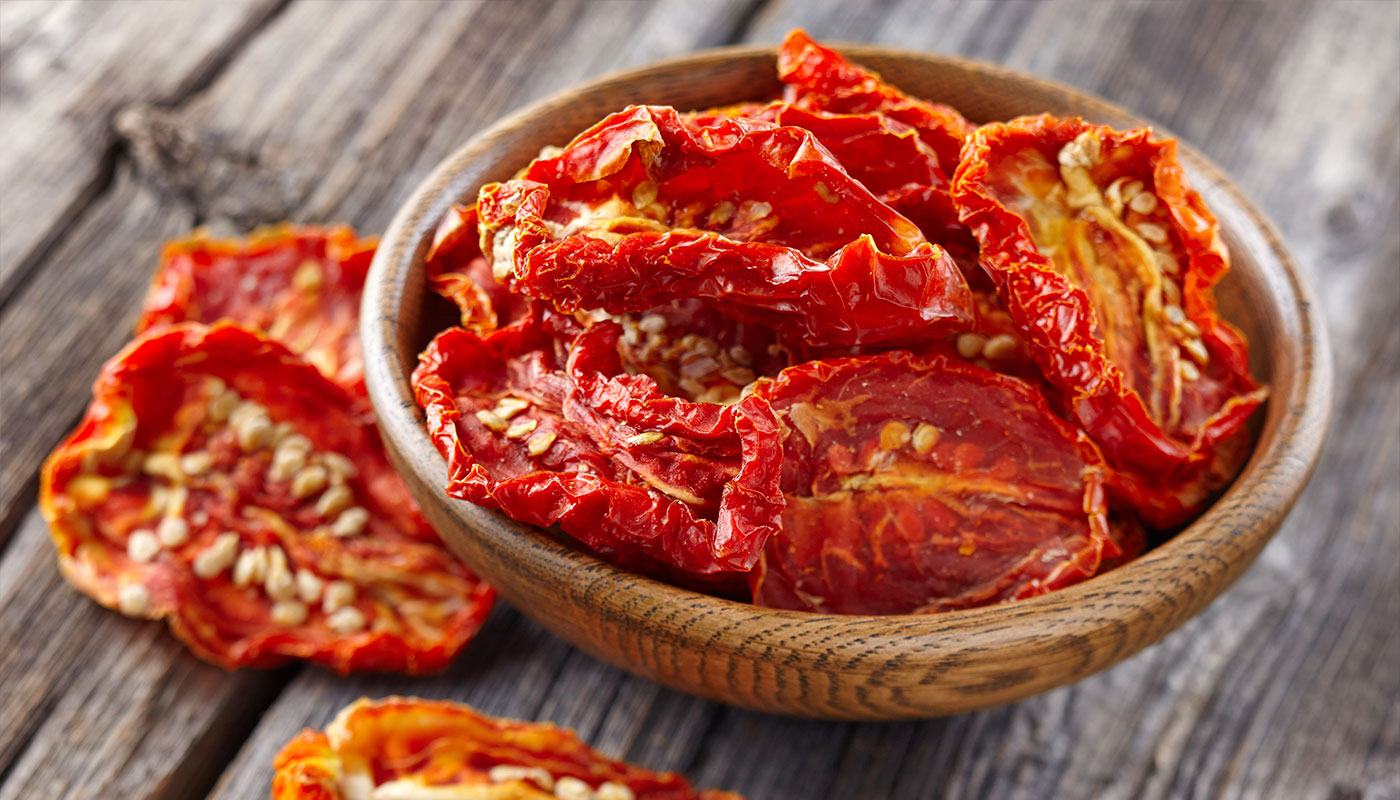
We love them fresh, puréed and, of course, dehydrated. We are (of course) talking about tomatoes. We use them for any salad, puréed (in sauce) to accompany a multitude of dishes and, of course, also dried. In fact, dried tomatoes are an excellent garnish for roasted meat, or for canapés and snacks. They also work really well with pasta, salads and toast or focaccias, and even to make red pesto. They can be used for almost anything.
How to make dried tomatoes? So, there are different ways of enjoying this ingredient. The essential thing to know is how to dehydrate the tomato, since, as you can imagine, to enjoy this recipe you will need to subject it to high temperatures. This is key, in addition to adding oil, basil, garlic, thyme and other aromatic herbs to make it delicious.
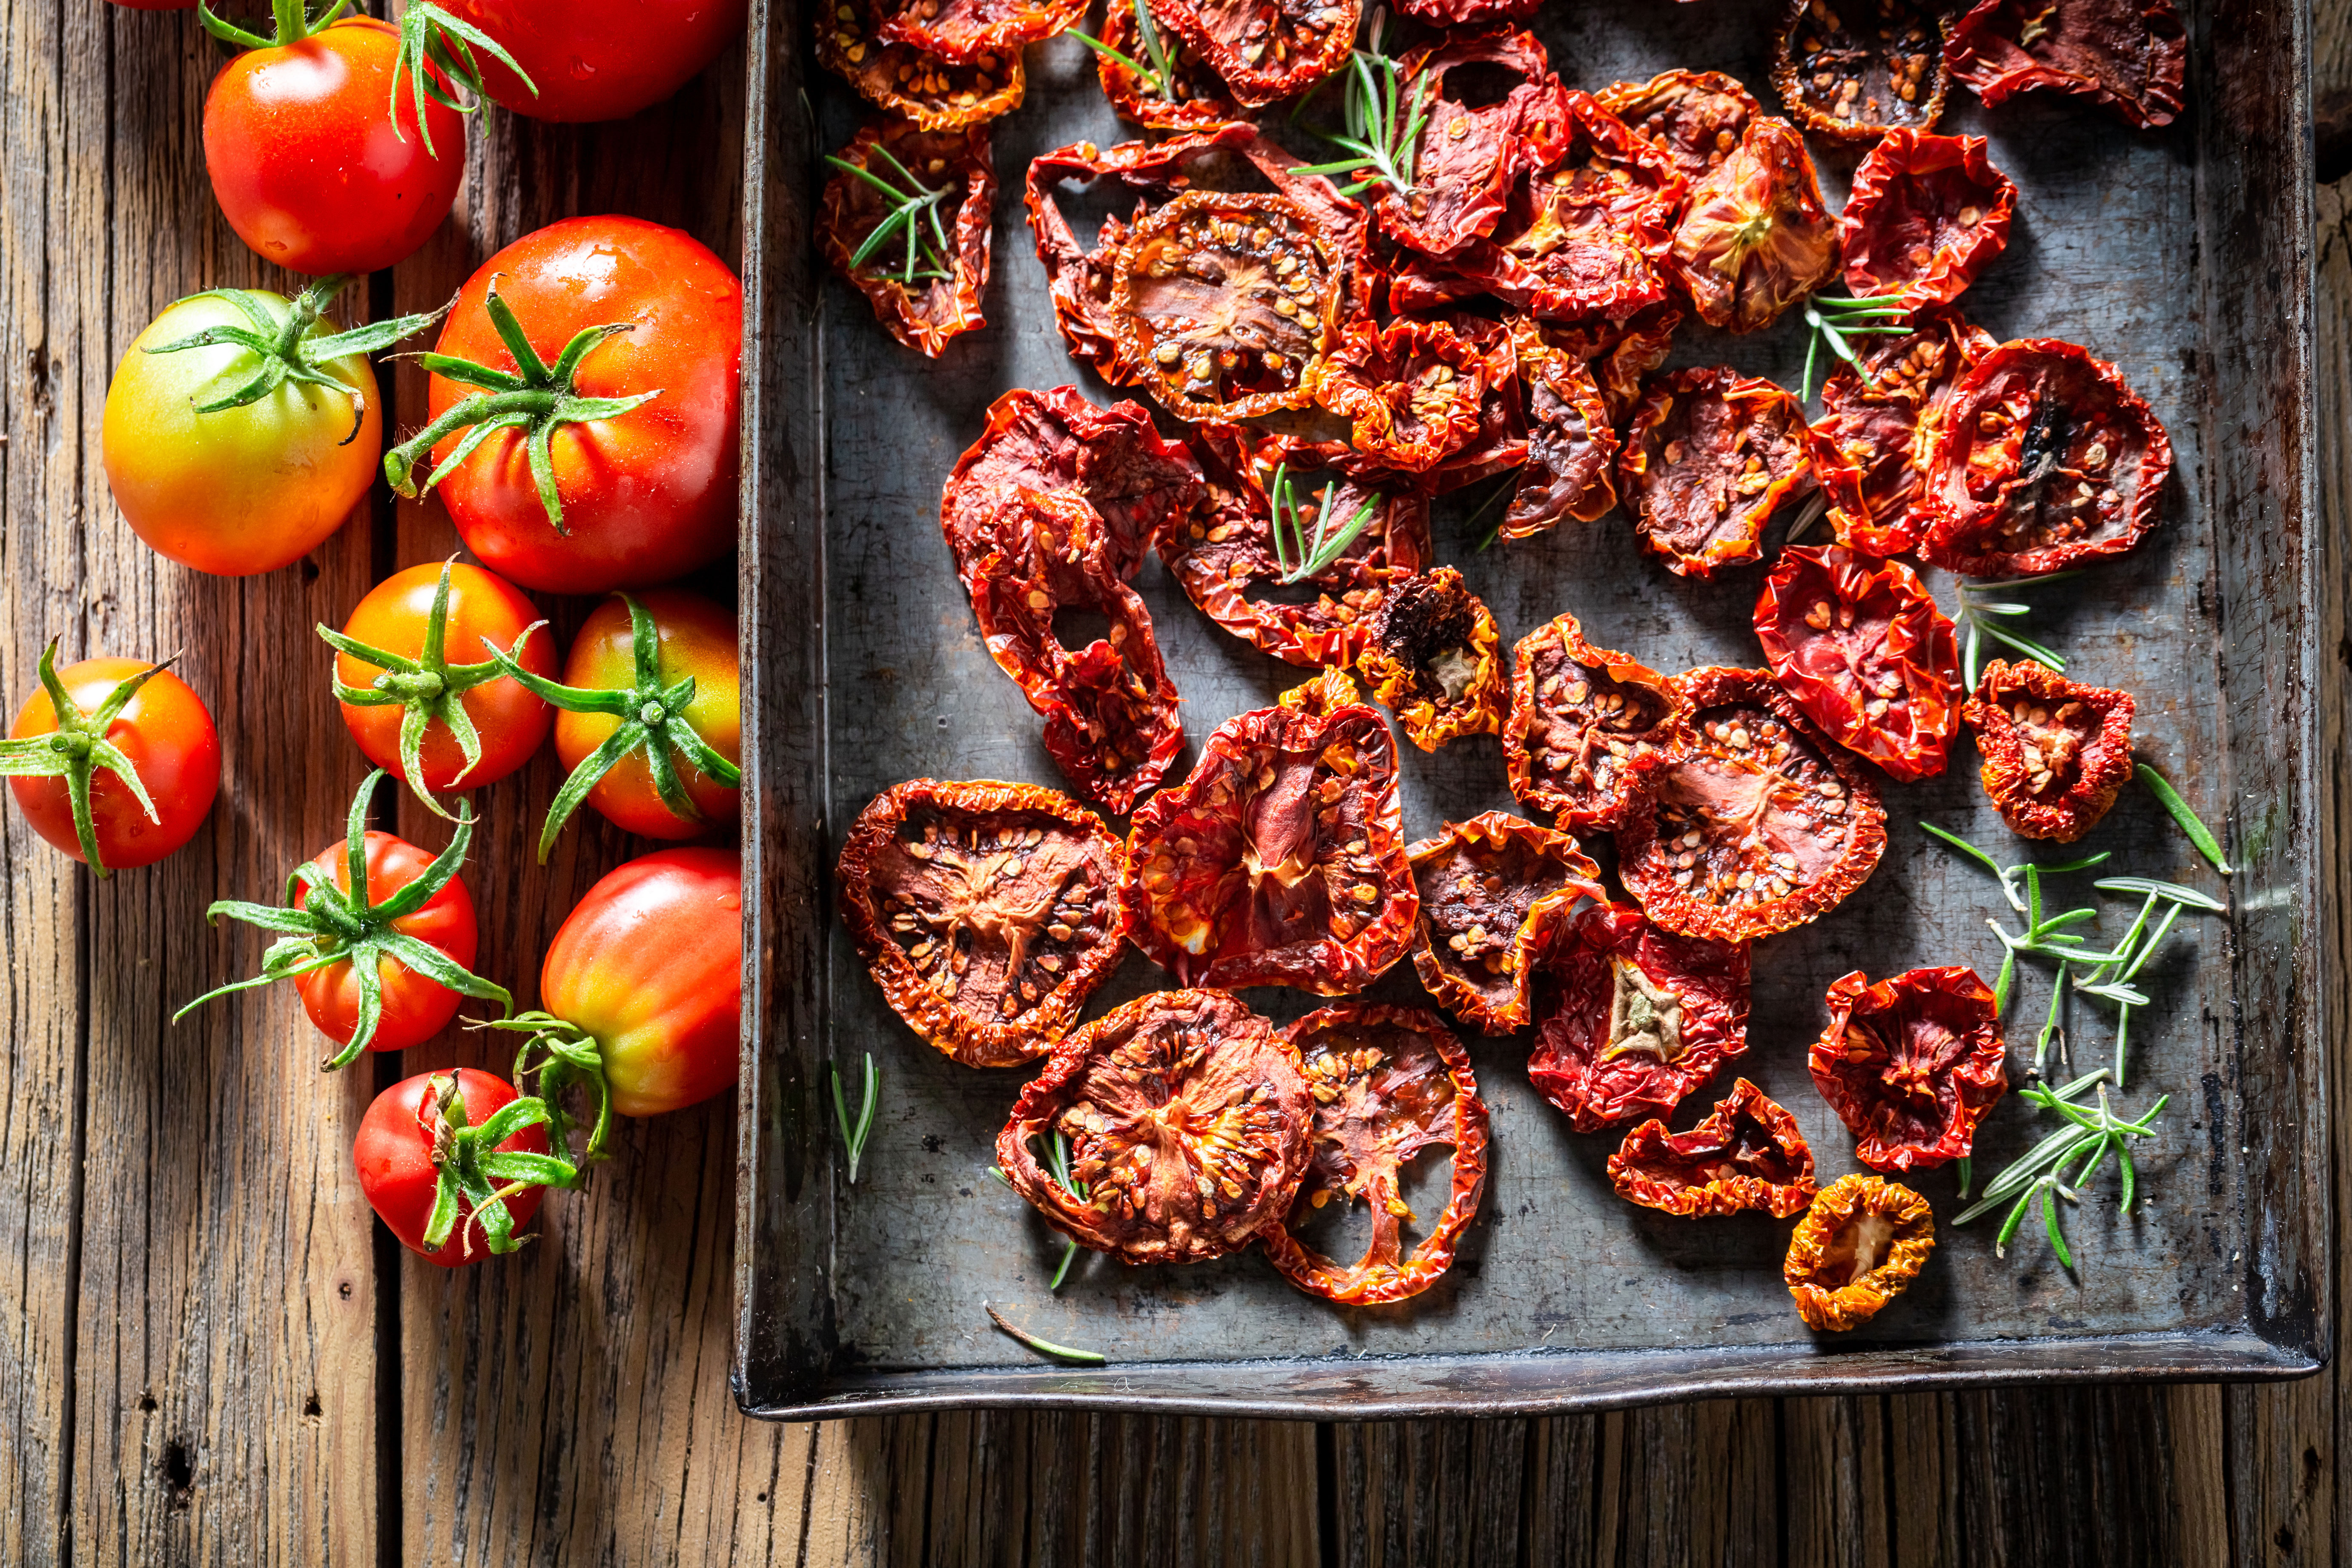
As we already mentioned, there are different ways of dehydrating those succulent tomatoes. Indeed, if you are asking yourself how to prepare dried tomatoes, you should know that before doing anything else, these processes require an extra dose of patience, given that you need a substantial amount of time for them to be tasty. To do so, by the way, it is essential to choose tomatoes of the same size and colour, which will guarantee the recipe’s success. The most suitable are pear tomatoes and, the smaller and sweeter they are, the more delicious they will be. So, without further ado, let’s find out how to make dried tomatoes.
How to make dried tomatoes in the oven
There is no mystery to making dried tomatoes in the oven other than controlling the time. Let’s look at exactly how:
1. The first thing to do is wash the tomatoes, cut them in half and remove the seeds.
2. Next, place them in a bowl, sprinkle them with salt and sugar and leave to rest for between half an hour and an hour.
3. Drain the water they have released during the maceration time and put the tomatoes back on a tray.
4. Brush them afterwards with oil and add aromatic herbs and pepper to taste.
5. Switch the oven on to 60 degrees and insert the tomatoes. You will need to keep an eye on them since, for the next three hours, you will need to drain the liquid they release every half an hour.
6. After three hours, when they are almost dry, place them on an oven rack and leave for another three hours.
7. After the six hours, leave them to cool with the oven door open.
8. Once the tomatoes are dry, you can use them immediately or preserve them in oil.

The latter part, specifically, is very important if you want to store them for later. If you are asking yourself how to make dried tomatoes in oil, you will need to note the following steps as well:
1. Put a pan of water on the hob, and when it starts to boil, add the dried tomatoes. Simmer for 20 minutes.
2. Next, drain the tomatoes and leave them to rest a while in the colander so they release all of the water and are as dry as possible. Then, dry them with a clean cloth. It is crucial that they are dry before placing them in oil since, otherwise, they could spoil.
3. Peel some garlic and squash them with the back of the knife so they are crushed (and that way, they release their aroma).
4. Fill a glass jar by inserting the garlic, tomatoes, peppercorns, oregano, basil in layers so everything is spread out. When everything is placed inside, cover with extra virgin olive oil (the tomatoes, of course, should be fully immersed).
5. Close the jar and store in the store cupboard. Leave to marinate for 3 days, although they can also be left for a week without any problems. During that time, you shouldn’t open them so the flavours permeate fully.
6. After that time, you can use them. Once open, you should store them in the fridge (where they can be kept for 2 weeks).
How to make dried tomatoes in the microwave
Almost everything that can be done in the oven, can be replicated in the microwave. If you want to know how to make dried tomatoes in the microwave, don’t miss this option:
1. In the same way as before, wash and cut the tomatoes in half and lengthways. Empty them, dry them inside and sprinkle with a mixture of salt and sugar. Leave to rest again so they release the liquid.
2. Place the fleshy part faced down on a plate covered with kitchen roll (about four sheets will be enough), and then place them in the microwave at full power for 5 minutes. After this time, remove the tomatoes, squash them gently with a spoon or spatula to remove the steam that forms between the flesh and the skin, transfer the tomatoes to another 4 sheets of clean kitchen roll and repeat the process twice more. This final time, you will need to have more control over the time to see the dehydration point the tomatoes reach.
3. Subsequently, you will put the tomatoes in the microwave again at full power for 2 minutes, and you will repeat this twice more. Turn them over at the end, placing them on their skins and, depending on how they look, you might need to place them in the microwave again for another minute.
4. They will be ready to eat or store in oil.

How to dehydrate tomatoes in the sun
The most traditional way to make dried tomatoes is to leave them to dry in the sun. Of course, there aren’t enough sunny days in some parts of the country for them to turn out properly. However, it might be the case that you don’t want to depend on external elements to prepare them. In any case, for clear climatological reasons, summer is the best time of year to use this option if you want to try it out.
To dehydrate tomatoes in the sun, you should wash them, dry them and prepare them as we have seen above. The fundamental difference is that you will place them in the sun, with the seeds facing upwards, on a flat and clean surface (the oven rack, for example). The important thing is to protect the tomatoes with a mosquito mesh or similar so they don’t receive unwanted visitors like insects.
You will need to leave them to dry in the sun for between 4 and 7 days, and at night you should remove them to a dry place until the next day so they aren’t exposed to the humidity. Once dried, leave them to air (wrapped in porous paper like newspaper or a basket) and, when they are cool, move to the preservation phase.


