Vegan ice creams: discover how to make them at home
With this heat, nothing beats a refreshing icecream. Today we tell you how to make vegan ice creams step by step. They aredelicious!
on today's menu
Share
Although veganism is a lifestyle that involves much more than giving up products or derivatives coming from animals, we understand a vegan diet to be one that is made up of plant products alone. In other words, a diet that excludes all types of meat, fish, seafood, dairy products, eggs, honey, jelly and all foods that come from animals.
Vegan cuisine doesn’t need to be less varied, healthy, nutritious or tasty than cuisine made using ingredients of animal origin. Many traditional recipes have a vegan option, you just need to replace some ingredients with others. This is the case with vegan ice creams. Would you like to find out how to make your own homemade vegan ice cream? Here at Consum, we tell you how.
3 vegan ice cream recipes
Nowadays, we can find different types of vegan ice creams on the market which don’t involve any ingredients of animal origin in their production. Making homemade vegan ice creams can be very simple: you just need to combine ingredients that you like, blend them well, place them in a mould and freeze them. But... making vegan ice creams that are as creamy and with the same texture as commercial ice creams is a bit more difficult, don’t you think? Take note of the recipes we give you below.
Vegan ice lollies
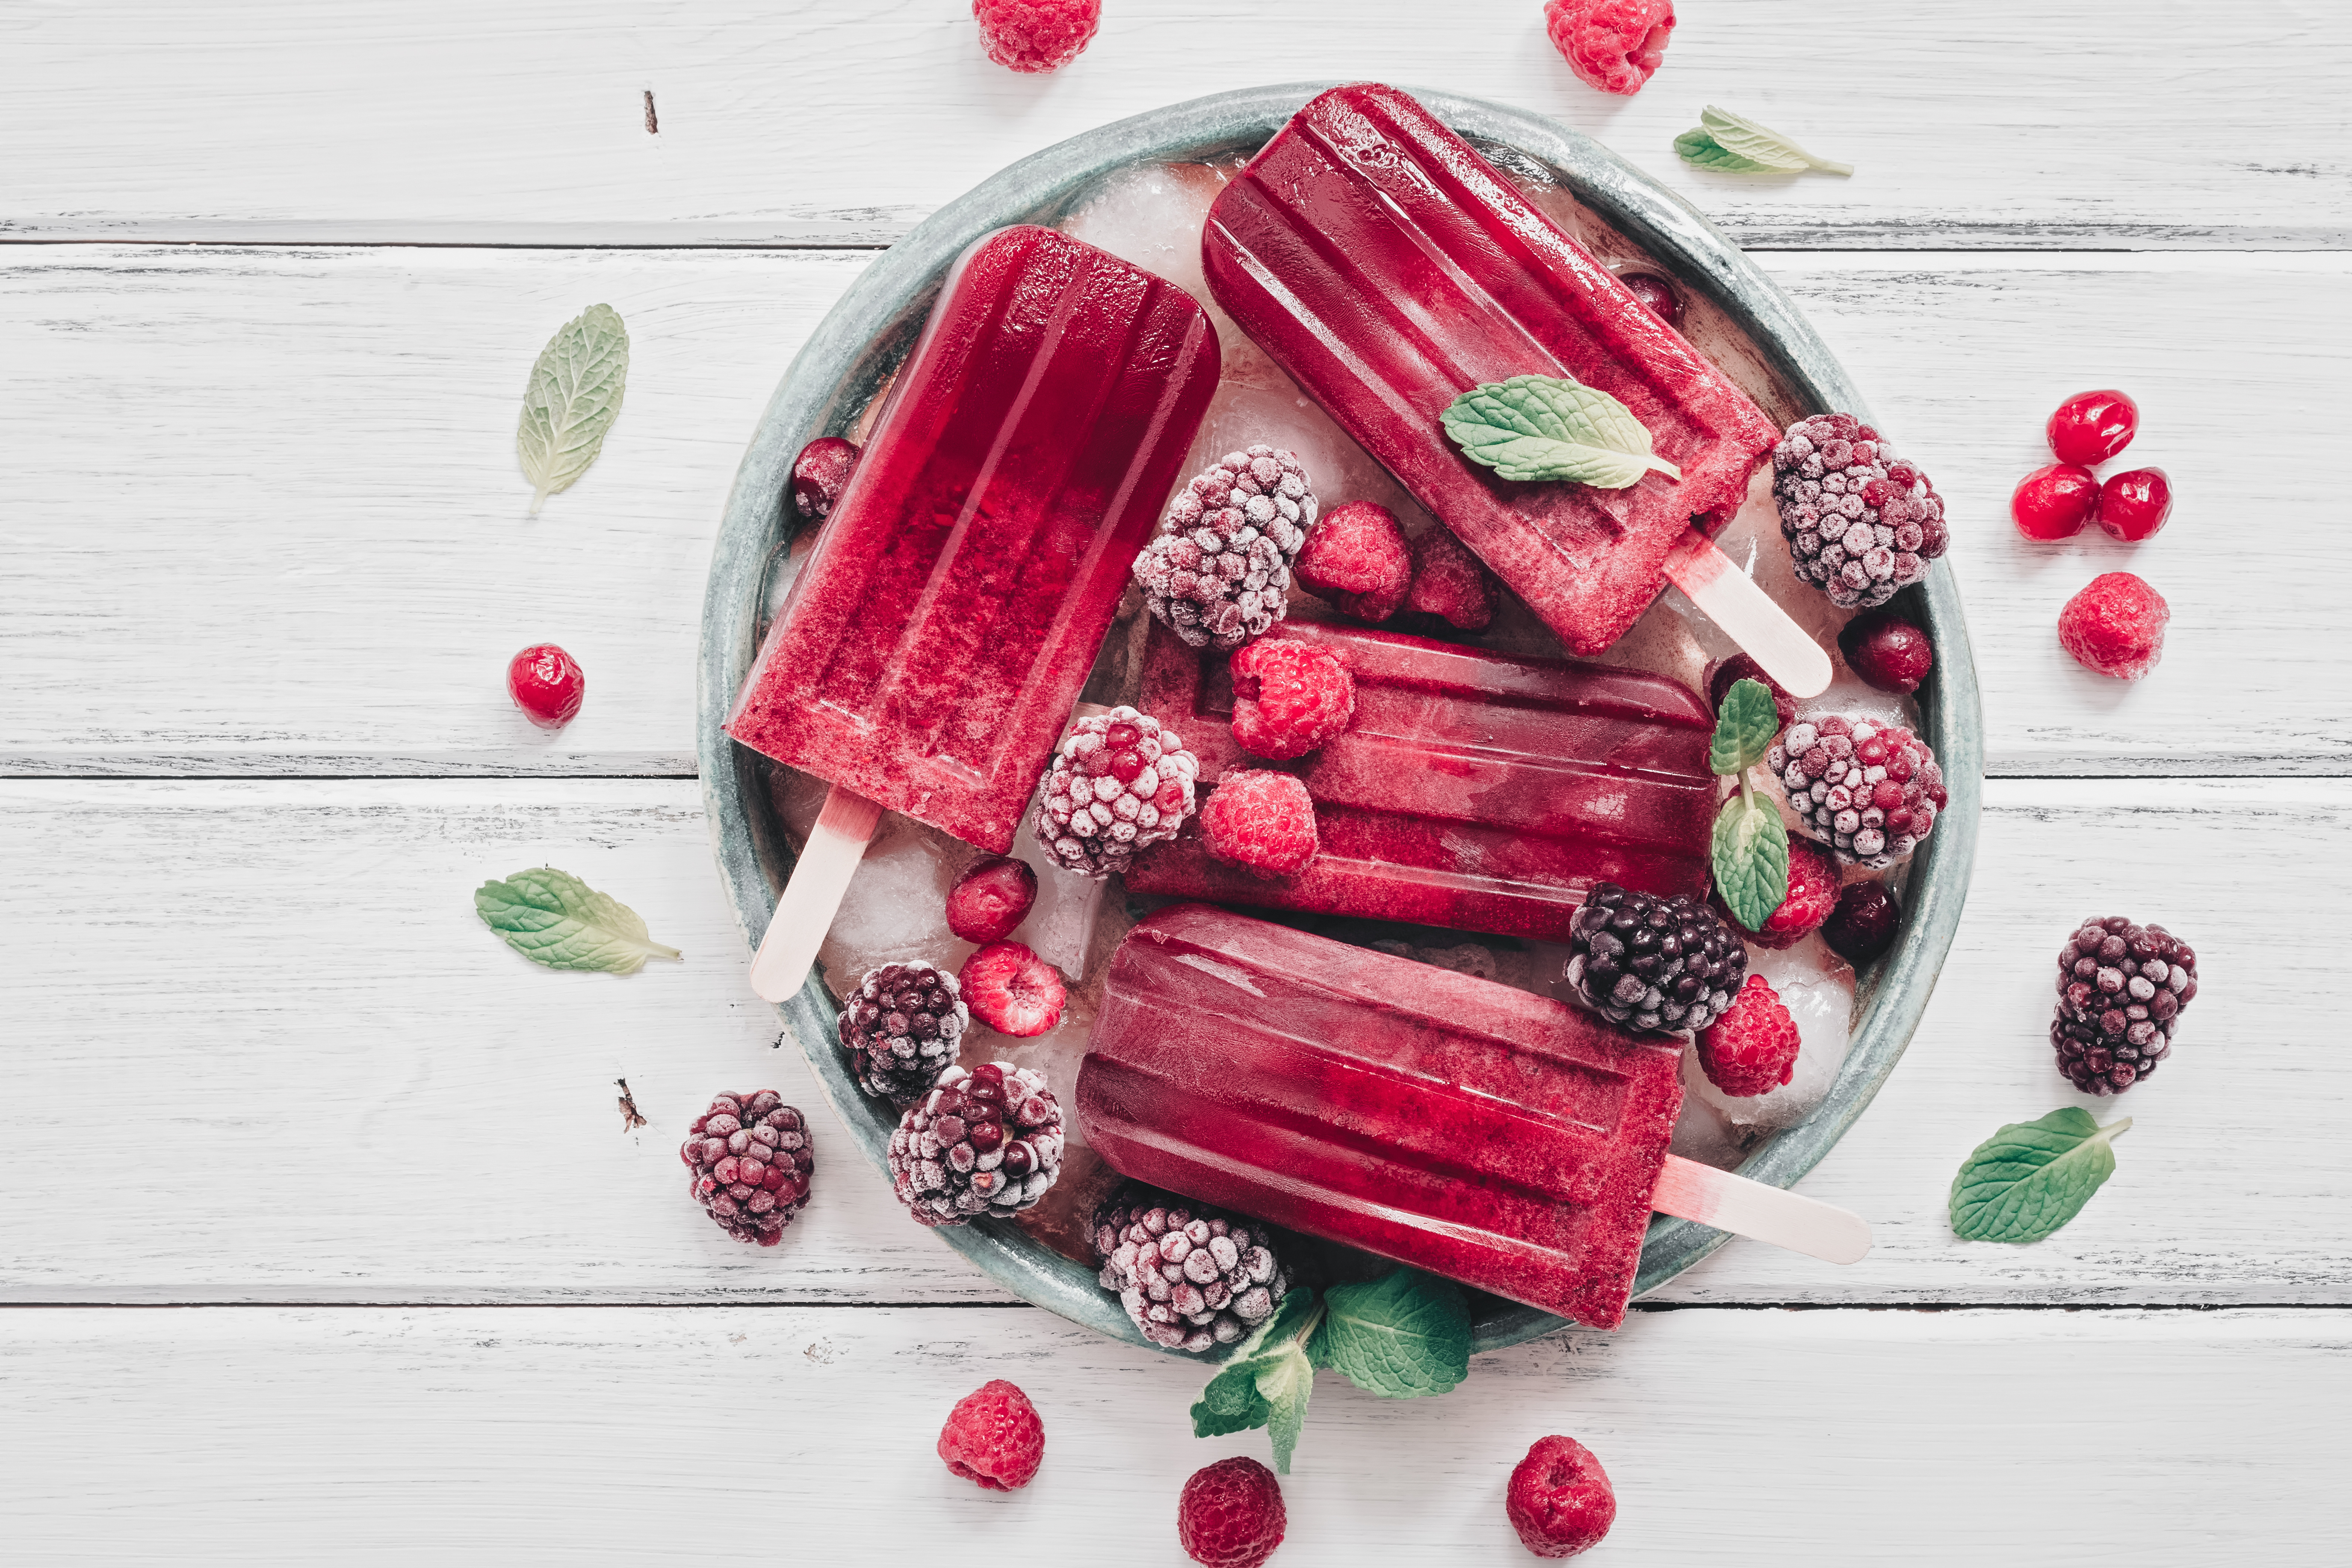
Ice lollies are hard and very refreshing thanks to their high water content. They are very simple to make, you will just need to choose your favourite ingredients (they are usually made with fruit), blend them (or not), add water or juice, freeze the mixture and they are ready to eat.
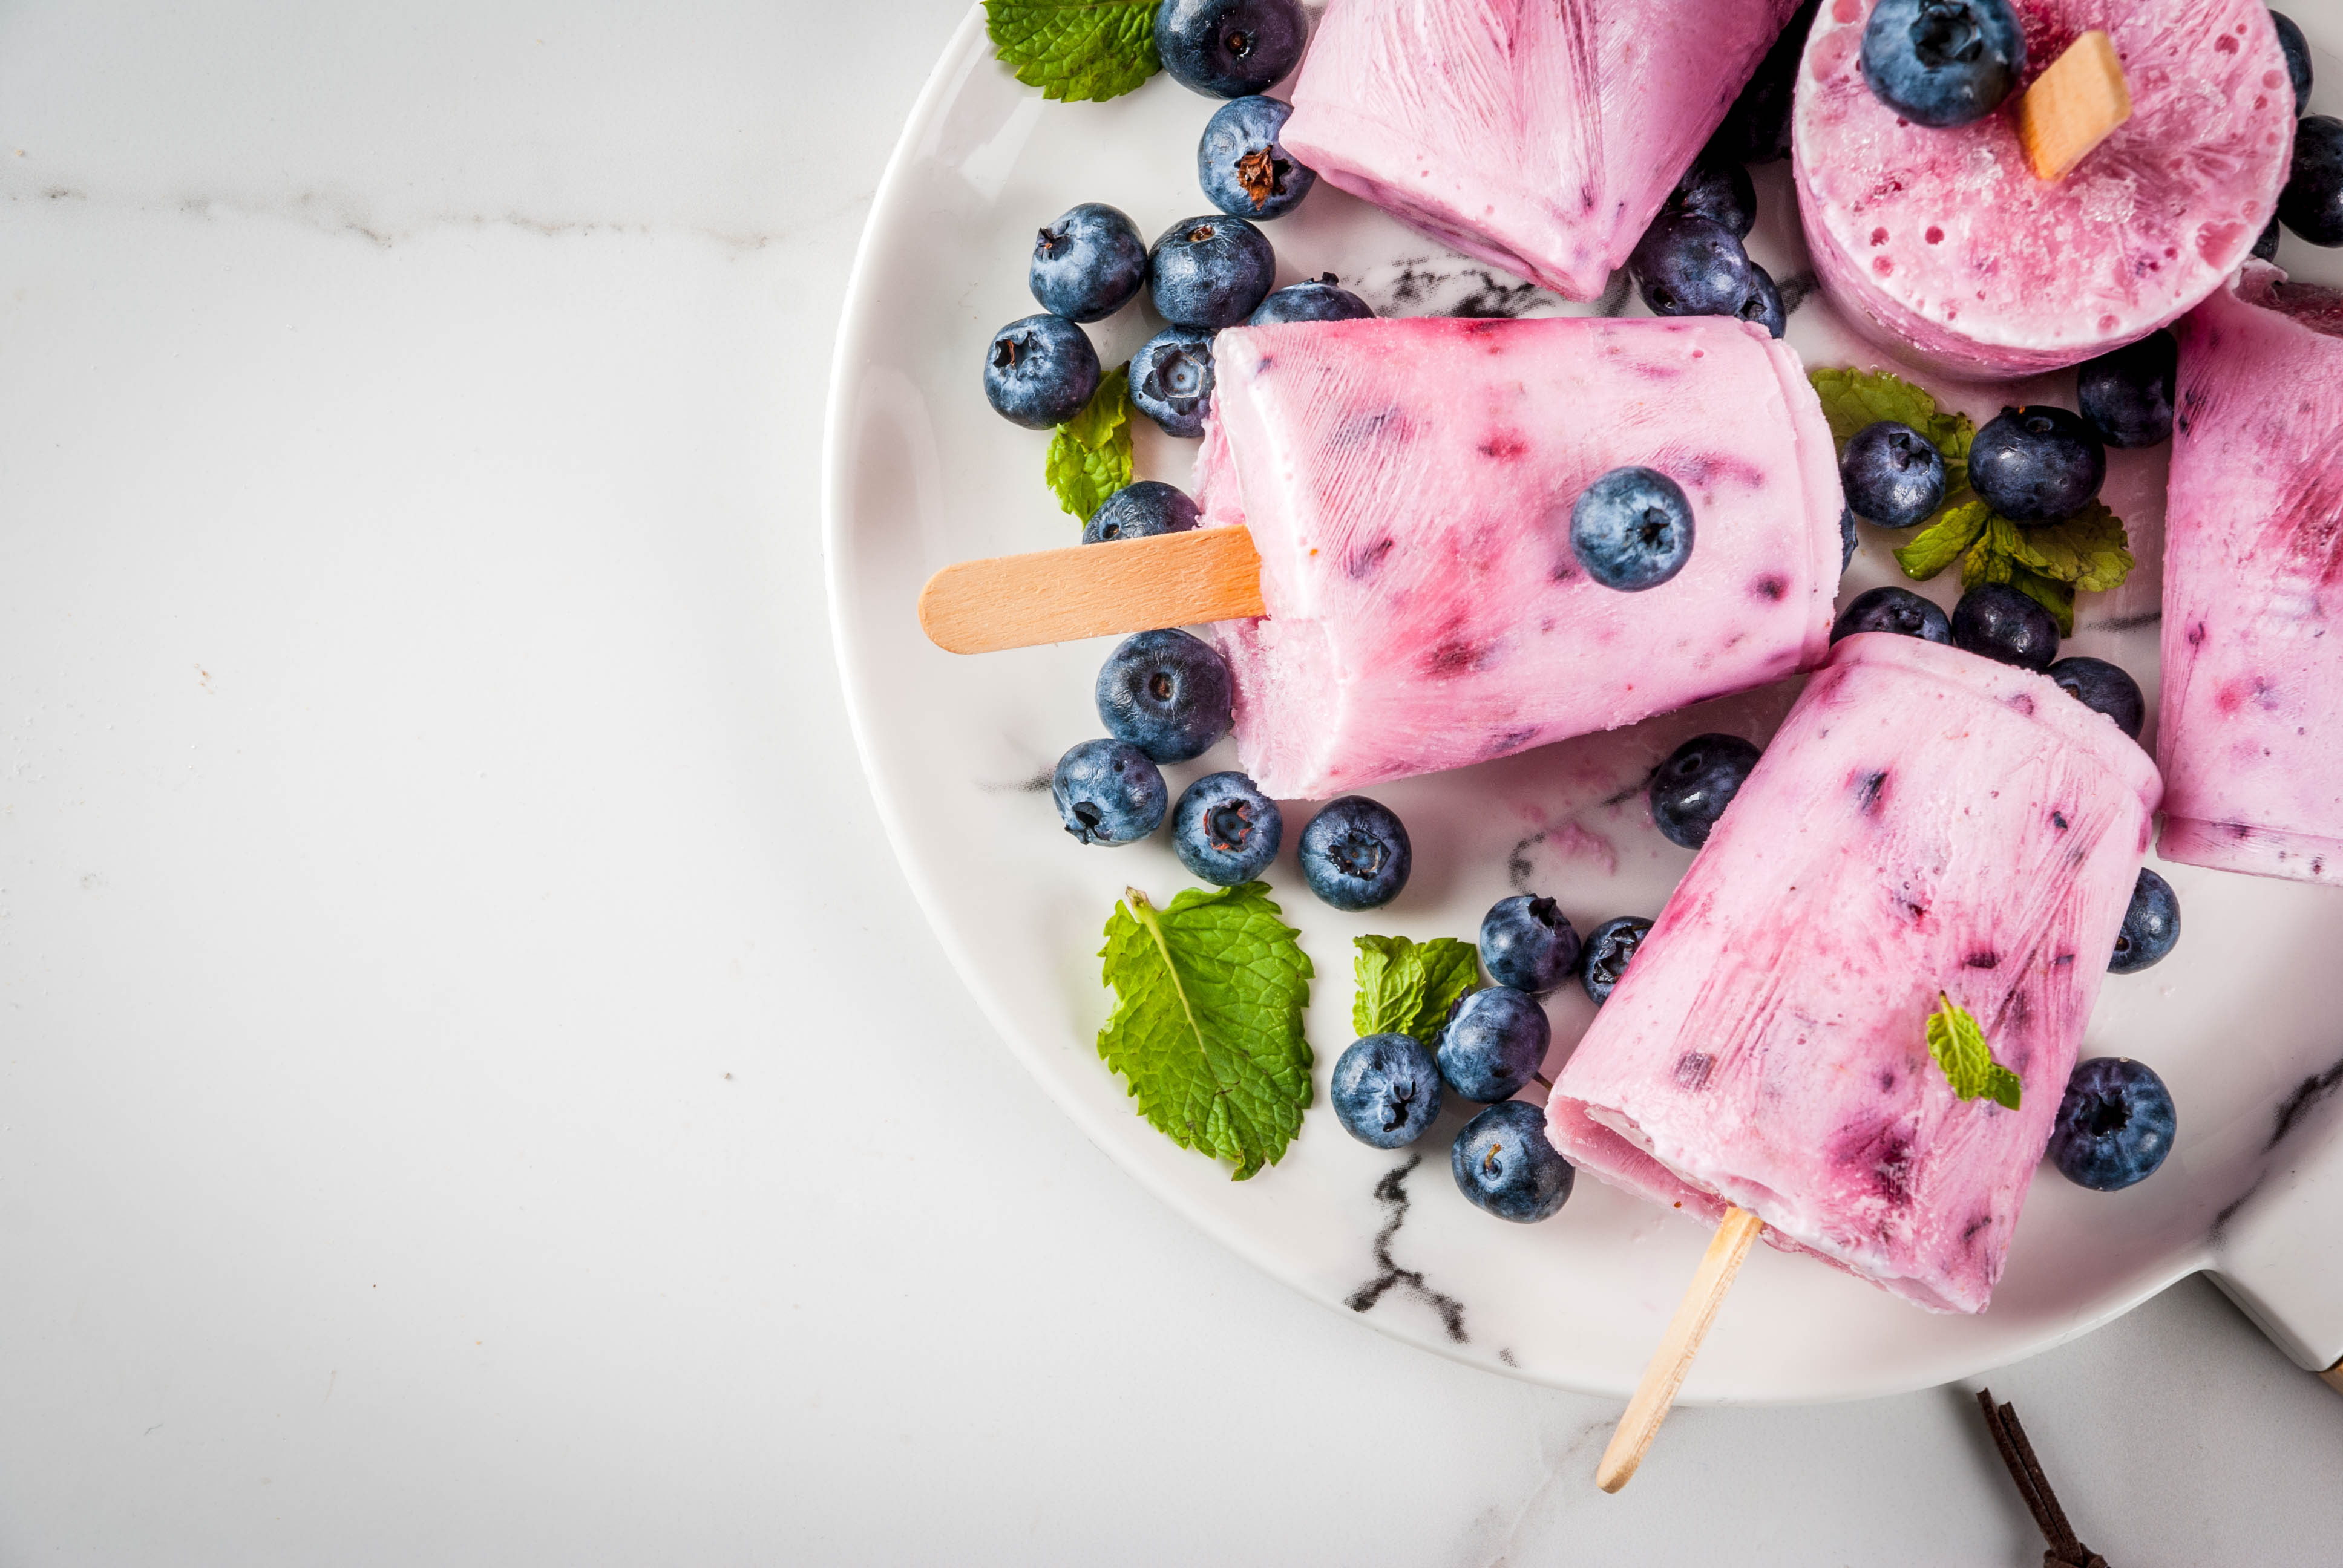
Lemon and orange ice lolly recipe
*Note: you won’t be able to eat this straight away, read the method of preparation for your vegan ice lolly carefully.
Ingredients:
- Orange juice (glass and a half or 250ml)
- Lemon juice (glass and a half or 250ml)
- Water (2 glasses or 350ml)
- Your favourite sweetener (to taste)
- Grated orange and lemon zest
- Peppermint or spearmint (to taste)
*For this recipe you will need ice lolly moulds and wooden sticks or sticks made from any other material.
Method:
- Grate the zest of a few lemons and oranges (take care with the soft part of the inside, it may add a bitter flavour to the mixture you have already made).
- Boil some water with the sweetener, peppermint or spearmint leaves and the citrus zest.
- Leave the mixture to cool.
- Separately, squeeze the oranges and lemons.
- Add the sweetened mixture to each of the juices (if you think there isn’t enough sweetener, you can add more to the mixture).
- Add the mixture to the moulds and position the sticks that will be used to hold them with.
- Leave your vegan ice lollies in the freezer for 12 hours.
Magnum style vegan ice creams
These vegan ice creams are very creamy inside, but covered in a layer of crunchy chocolate on the outside. They are very simple to make, although a bit more time-consuming than ice lollies.
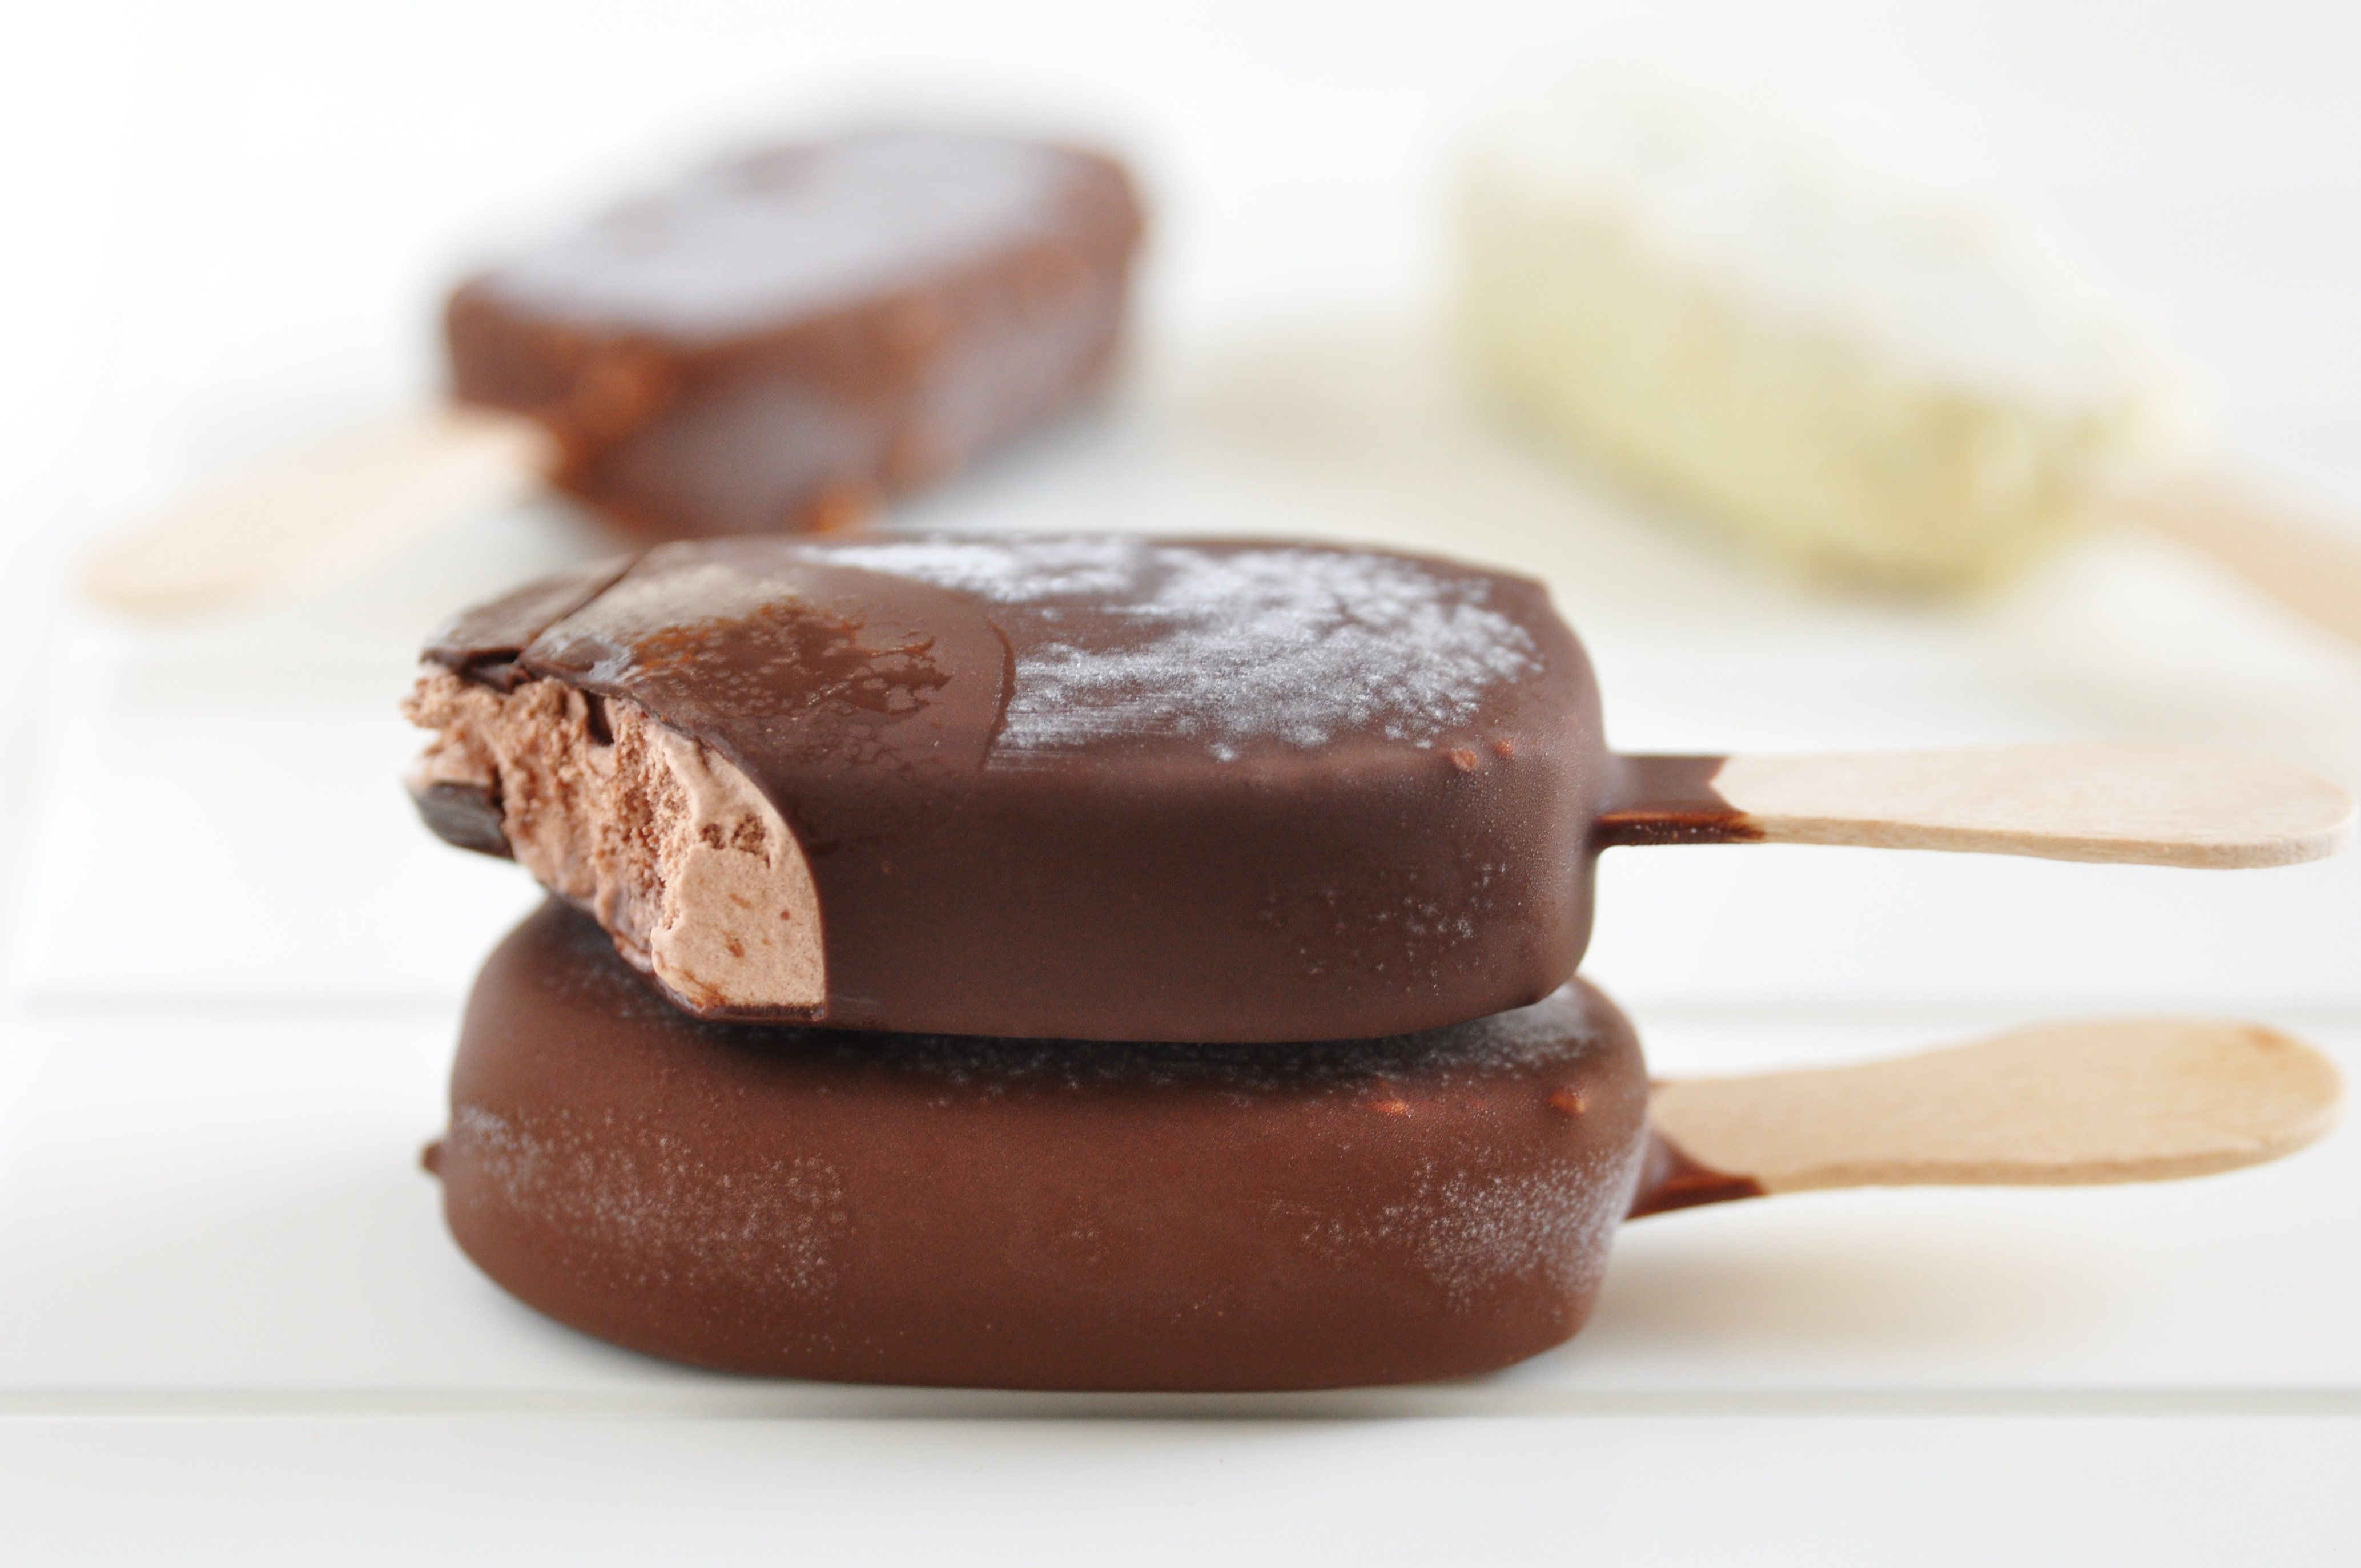
Vegan Magnum recipe
*Note: you won’t be able to eat this straight away, read the method of preparation for your vegan ice cream carefully.
Ingredients:
- 1 tin of coconut milk (2 cups or 400 ml)
- Cornflour (1 tablespoon)
- Vanilla (to taste)
- Coconut oil (1/2 cup or 100 ml)
- Agave syrup (1/2 cup or 100 ml) or any other sweetener with the same consistency
- Pure cocoa powder, (6 large tablespoons)
- Chopped dried fruit or grated coconut (your choice)
*For this recipe you will need ice cream moulds and wooden sticks (or made from any other material).
To make the filling:
- Heat a cup and a half of coconut milk on the hob (save the rest for dissolving the cornflour).
- Once the mixture is hot, add the agave syrup (to taste) and the vanilla (to taste).
- Add the already dissolved cornflour and stir until you achieve a very creamy mixture.
- Leave the mixture to rest until it cools down a little.
- Pour the mixture into the moulds, position the stick and leave your vegan ice cream to cool in the freezer for 2 or 3 hours.
To make the chocolate coating:
- Heat the coconut oil with the cocoa and agave syrup until they form a chocolate cream.
- Remove your vegan ice creams from the mould and dip them in the chocolate cream straight away. (If you want to add a crunchy touch to your vegan ice cream, add some dry fruits on top before the chocolate cools).
- Leave in the freezer for 4 hours. After that time, they will be ready to eat.
Creamy vegan ice creams or ice cream in a tub
This type of dessert is characterised for its extra creamy texture, similar to what we can find in traditional ice cream parlours. Although these vegan ice creams are traditionally made with an ice cream maker, there are other ways of making them without using a kitchen robot. Do you fancy making them at home?
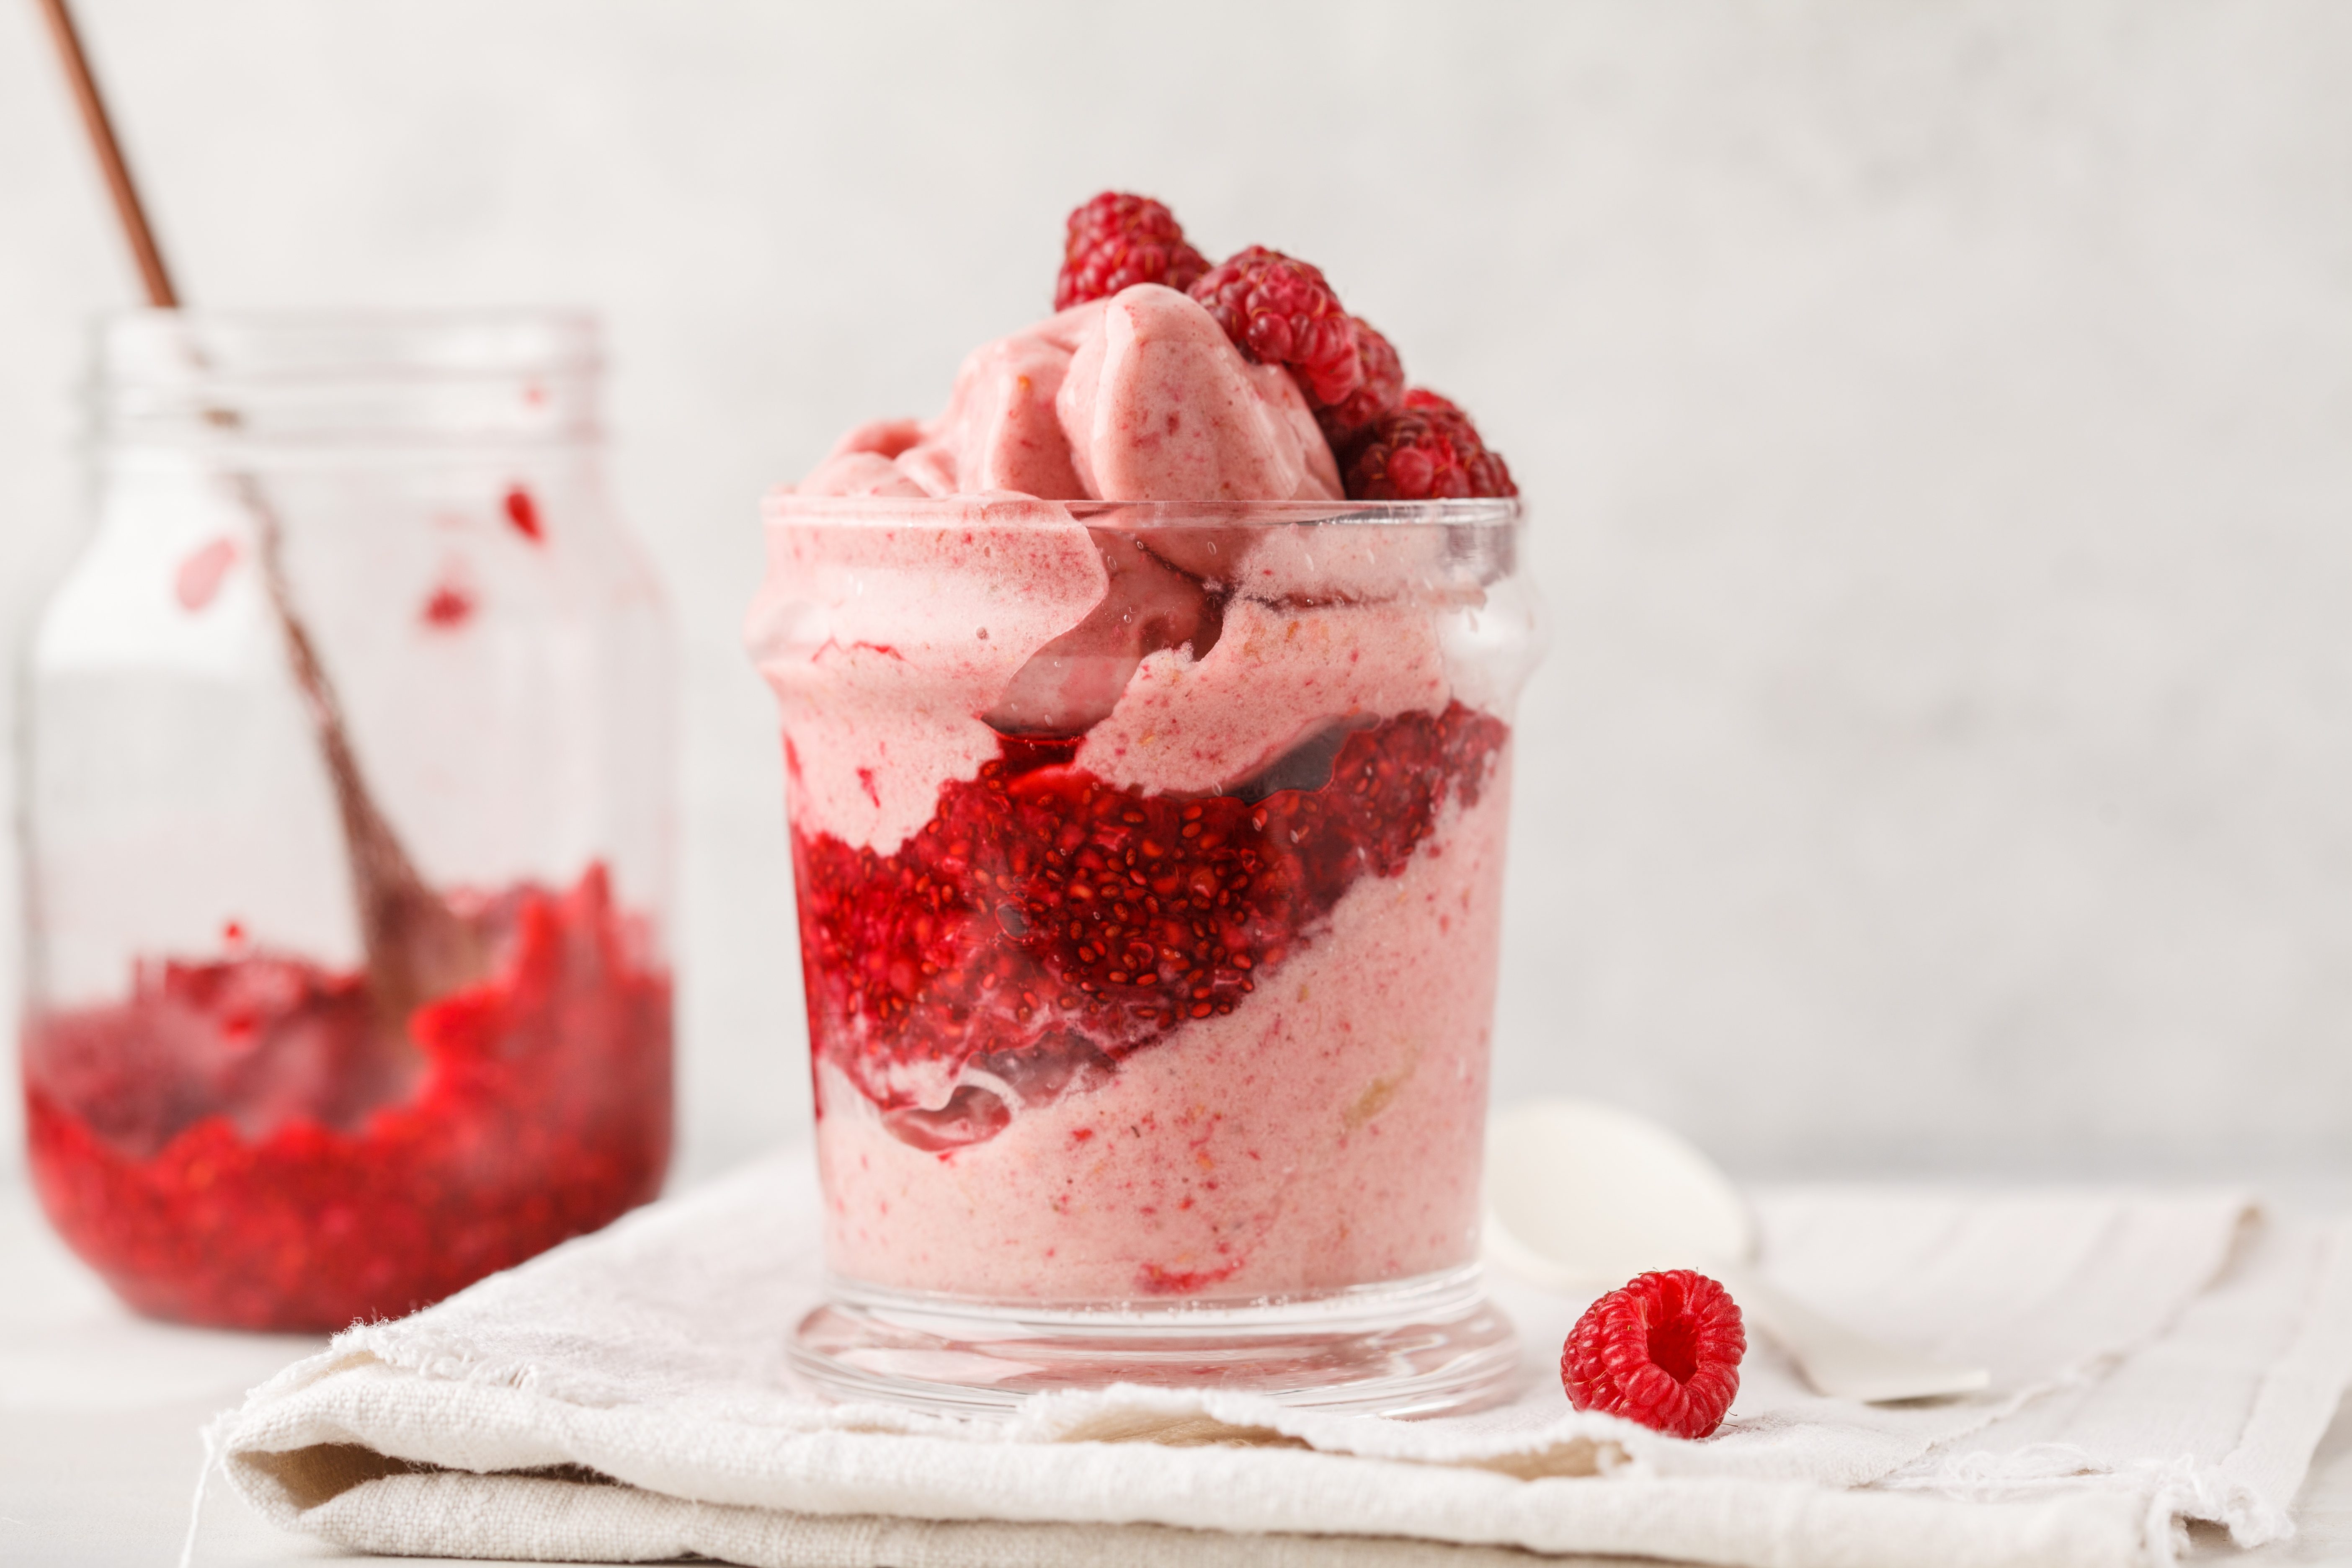
Chocolate ice cream recipe
*Note: you won’t be able to eat this straight away, read the method of preparation for your vegan ice cream carefully.
Ingredients:
- 1 tin of coconut milk (2 cups or 400 ml)
- Agave syrup or any other sweetener with the same consistency (half cup)
- Raw cashew nuts (200 g)
- Pure cocoa powder (4 tablespoons)
- Chocolate chips, almonds, nuts (or any type of ingredient you want to add to the mixture)
*For this recipe you will need a container to store your ice cream in
Method:
- The night before you are making this recipe, place the container in which you are going to blend your ice cream into the freezer.
- Soak the cashew nuts in water for a minimum of 4 hours.
- Blend all of the ingredients in the blender and make sure your mixture doesn't contain any lumps.
- Pour the mixture into a freezer bag or an airtight container and place it in the fridge for 6 hours.
- After 6 hours, if you have an ice cream maker, follow the instructions for use. Otherwise, use the bowl you cooled a few hours before: pour in the mixture, add the chocolate chips and place your ice cream in the freezer for a minimum of 8 hours (for the first 4 hours, you will need to stir the mixture every half hour).
- After this time, place your ice cream in the container you are going to use to store it and level the surface with a spatula.
